Rolling Guides
Rolling Hacks
Have you ever wondered how nice it would be to consistently roll a clean, even roll with ease? We've all been there: a group of friends wants one, and no one knows how to roll. That usually ends with one lopsided roll that falls apart halfway through.
This article will give you the tricks you need to roll a high-quality roll yourself.
Rolling hacks
- Use a high-quality filter for structure.
- With rolling papers, lick the back side of the sticky gum, or dab instead of swiping.
- Break up your blend evenly.
- Pack and add more of your blend evenly after finishing the roll.
- Finish your roll with a Dutch crown instead of a twist.
1. Use a high-quality filter

For the best and easiest rolls, we recommend using a high-quality reusable filter that provides structure and grip while you roll. Glass filters make rolling a bit more difficult because they are slippery. The paper does not roll as easily, and they can slide out and break if the paper isn't tightly rolled up against them.
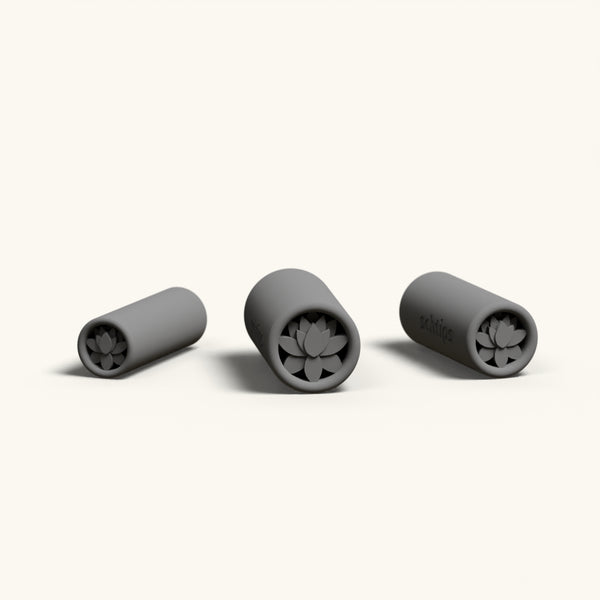
Our sets of 8mm, 10mm, and 12mm filters are designed for stable structure and balanced airflow, making the tuck and roll much easier for beginners and experienced rollers alike. They give your roll structure and set you up to roll a straight or tapered roll as you please.
2. Lick the back of the sticky part of the rolling paper
I used to have a huge issue with rolling. I would create a nice, clean roll, and when I finished licking the sticky gum and sticking it down, the roll would come undone. It was super disheartening to see my rolls fall apart.
I told a friend about this issue, and he mentioned that it was probably because when I licked the paper, I was actually removing the sticky gum. Simple fix: lick the back side of the paper. This gets both sides of the paper wet to activate the adhesion, but it ensures that you do not remove the sticky gum in the process.
If your rolls keep coming undone, check out our post on how to make sure your rolling papers stick. It's a game changer.
3. Break up your blend evenly
Nobody likes it when a roll "canoes," or burns unevenly. It wastes your blend and is very unsatisfying. To prevent canoeing, make sure what you are packing with is broken up evenly. Pulling it apart by hand until the pieces are roughly even works just fine.
4. Pack and add more evenly after finishing the roll
When you first begin rolling, focus on rolling consistently. The amount you add does not have to form a perfectly filled roll. So, when you finish rolling, it helps to add a bit more to the open end and use a paperclip to pack it down evenly as necessary.
As you master rolling, you will learn how to pack the right amount without needing this step; until then, it will help your early rolls burn more evenly and have a bit more structure.
5. Finish your roll with a Dutch crown
We all recognize the classic "twist" at the end of a roll. It's second nature to finish this way. However, the twist doesn't always burn very well, and it lacks personality.
Instead of twisting the end, try a Dutch crown. You leave about the same amount of space as you would for a twist, but instead of twisting, you fold each side flat over the top and push outwards.
6. If you absolutely have to, you can use a rolling machine
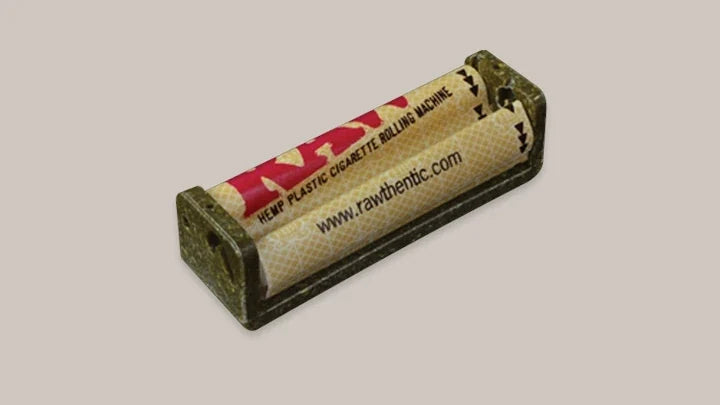
Rolling machines make rolling easy and smooth without errors. We recommend going through some trial and error to learn how to roll a solid roll yourself. However, if you want consistent, quick, and inexpensive, check out our rolling machine that will do the work for you.
Wrap up
Once you're done rolling, take the time to notice what went well and what could be improved. Rolling is a form of art, and you will grow a strong appreciation for it as you progress.
For the best rolls, use a quality filter, lick the back side of the sticky end of your papers, break up and pack your blend evenly, and use a Dutch crown to finish. Keep your head up. The more you practice, the better your rolls will become, I promise! Best wishes, and cheers to all the beautiful rolls to come.